

GoodTech MFG Group Limited
Handson Zingying Plastic Metal Ltd
Handson Zingying Plastic Metal Ltd
Views: 682 Author: GoodTech - Mark Li Publish Time: 2025-11-05 Origin: Site
Every engineer and project manager has experienced the "sticker shock" moment. You've perfected your part design, sent it out for a production quote, and the number that comes back is $35,000 for the mold alone. Why? And more importantly, how can you cut that number in half?
The most effective way to reduce injection molding costs is during the part design phase. Simplifying geometry, eliminating undercuts, applying uniform wall thickness, and relaxing tolerances have the biggest impact on the primary cost driver: the complex steel mold. Strategic material and tooling choices can further reduce both upfront and long-term expenses.
This is not just a simple list of "tips." This is a comprehensive guide that will walk you through every stage—from design to material selection—and show you exactly where the costs are hiding and how to systematically remove them. We'll explore how smart design, strategic tooling choices, and the right prototyping partner can make your project both successful and profitable.
The two main cost drivers are the upfront tooling cost (the complex, custom-built mold) and the ongoing part cost (the material resin and the machine cycle time). Understanding the difference is the key to knowing where to focus your cost-saving efforts.
Before you can reduce costs, you have to know where they come from. In injection molding, your total budget is split into two very different baskets.
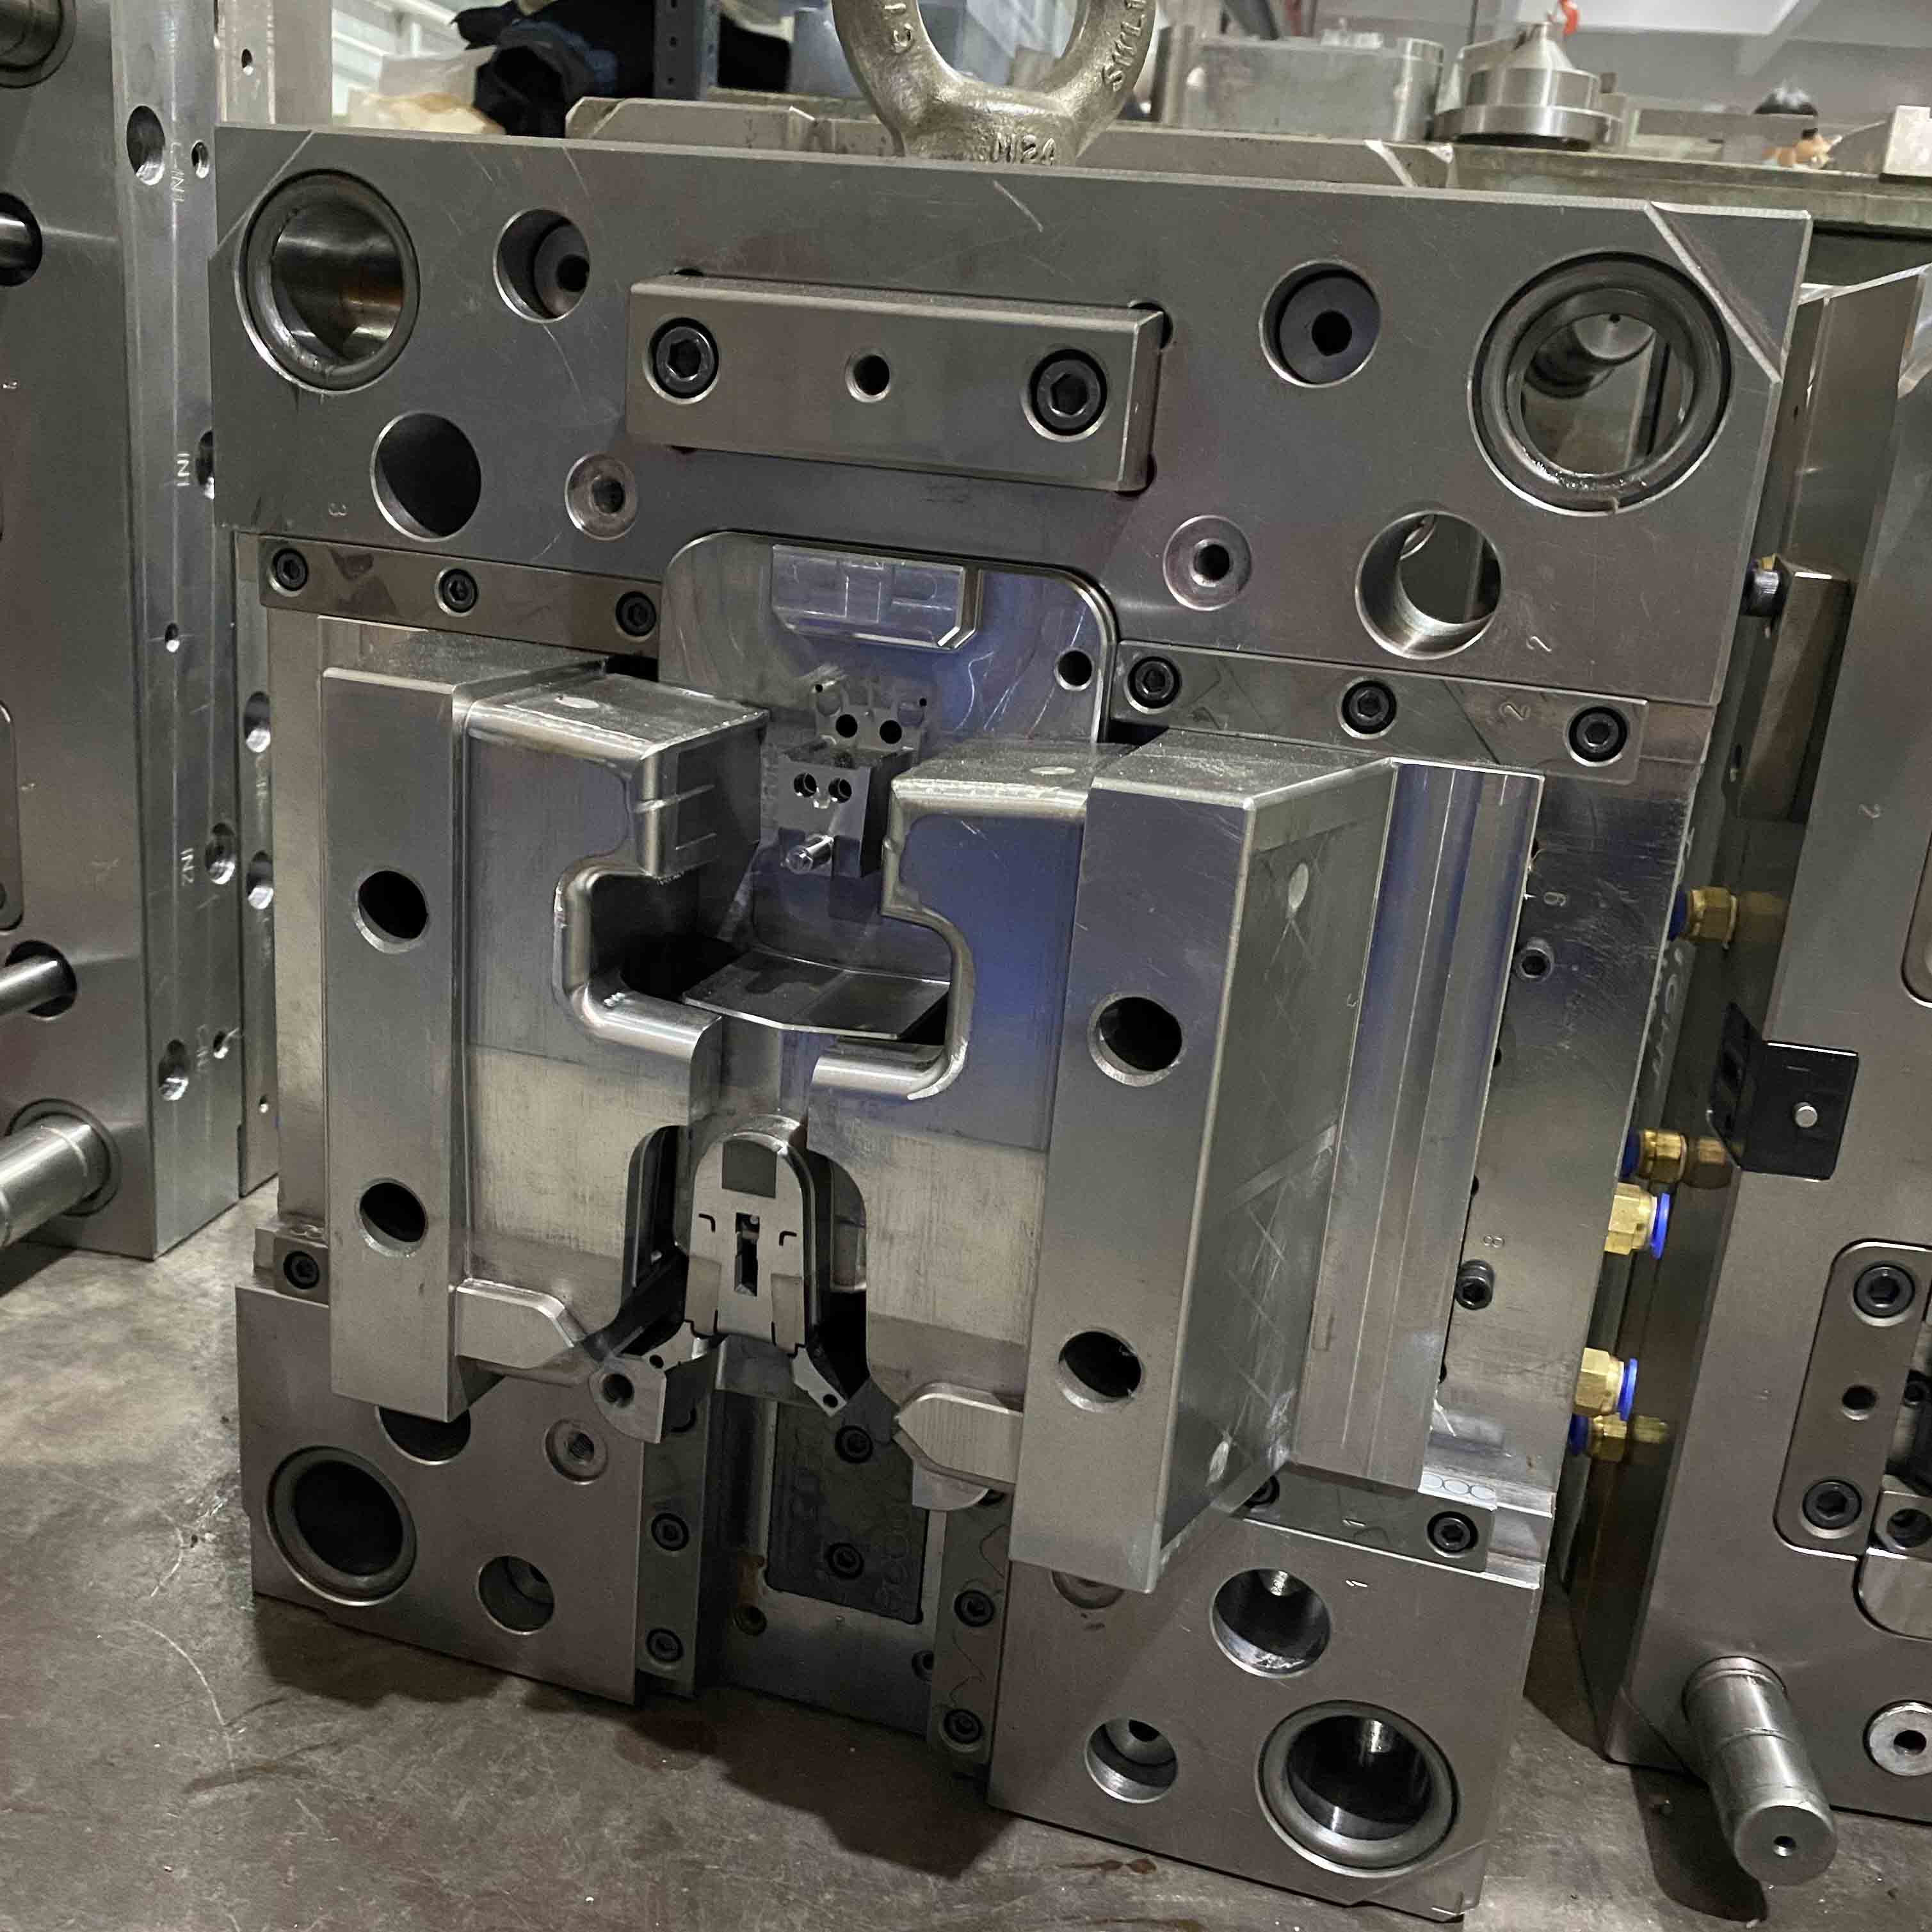
This is the large, one-time investment you make before a single part is produced. It's the cost to design and build your custom mold. This price is driven by complexity: how large is the part, what material is the mold made from (steel VS stainless steel), and—most importantly—does it require side actions like slides or lifters? Hot runners VS cold runners? This is almost always the biggest number on your initial quote.
This is what you pay for each part *after* the mold is built. This cost is driven by two things: the cost of the plastic resin itself (a cheap Polypropylene vs. an expensive PEEK) and the "cycle time." Cycle time is the total seconds it takes to make one part. A shorter cycle time means less machine time, which means a lower part price.
Your goal is to find the **break-even point** where the low part cost justifies the high tooling cost. A $20,000 mold might seem expensive, but if it allows you to make parts for $0.50 instead of $5.00 via CNC machining, you've paid for the mold after just ~4,500 units. The rest is pure profit.
| Cost Category | Key Drivers |
|---|---|
| Upfront Tooling Cost |
|
| Ongoing Part Cost |
|
Design for Manufacturing (DFM) is the single most effective way to slash costs. Every simplification—eliminating an undercut, relaxing a tolerance, or making walls uniform—directly removes hours of complex machining and skilled labor from your mold build, which is the largest part of your budget.
The vast majority of your tooling cost is "locked in" the moment you finalize your part design. Here are the five DFM tips that will save you the most money.
An undercut is any feature that blocks the part from being directly ejected from the mold—think side holes, snap-fit clips, or recessed grooves. To mold these features, the mold needs "actions," or moving parts like slides and lifters.
These mechanisms are pure cost-adders. They are expensive for several reasons:
Added Mechanisms: The mold must have complex internal cams, angled pins, or hydraulic cylinders to move them.
Larger Mold Base: All these moving parts need space, which often means you need a larger, more expensive mold base.
Higher Maintenance: More moving parts means more components that can wear out or break down over time.
Cost-Saving Tip: Always ask, "Is this undercut absolutely necessary?" Can you redesign the part to achieve the same function without it? For example, could a snap-fit be moved to the parting line? Can a "pass-through" core create a hole instead of a slide?
You already know that thick, chunky sections in your part can cause cosmetic defects like sink marks and warping. But they also directly increase your costs in two ways:
Longer Cycle Time: The cooling phase is the longest part of any molding cycle. A thick part takes much longer to cool down, which means your cycle time goes up, and your cost per part increases.
More Material Usage: Thicker walls simply use more plastic resin, which directly increases your material cost for every part you make.
Cost-Saving Tip: Don't add thickness for strength. Instead, maintain a thin, uniform wall (e.g., 1.5mm - 3mm) and add ribs to create the same stiffness. This keeps the part light, strong, and fast to mold.
Draft is the small taper (usually 1-2 degrees) applied to all walls parallel to the mold's direction of pull. It is not optional. Without draft, the part will scrape and drag against the core as it's ejected, causing cosmetic damage ("drag marks") and getting stuck.
Generous draft angles save you money by:
Preventing Mold Damage: It reduces the immense friction on the mold's surface, extending the tool's life.
Shortening Cycle Times: A part that releases easily can be ejected faster, shortening the overall cycle.
Does your part *really* need a tolerance of +/- 0.01mm? A tighter tolerance is a direct cost multiplier. To achieve it, a toolmaker can't just run a standard CNC mill. They must use slower, more expensive processes like EDM (Electrical Discharge Machining), hard milling, and jig grinding. The mold will also require more frequent inspection and maintenance to ensure it stays within that tight tolerance band.
Cost-Saving Tip: Be critical of your drawings. Apply tight tolerances *only* to critical features (like a bearing bore) and allow a standard, looser tolerance (+/- 0.1mm or more) for all non-critical dimensions.
The surface finish on your part is a direct copy of the finish on the mold. A simple, textured finish (like an SPI-C1 stone polish or a D-1 bead blast) is fast and affordable to apply.
In contrast, a flawless, mirror-like SPI-A1 diamond polish is one of the biggest hidden costs. It requires a master polisher to spend *days* of manual labor meticulously buffing the mold steel, removing every microscopic flaw. This labor adds thousands to the mold cost.
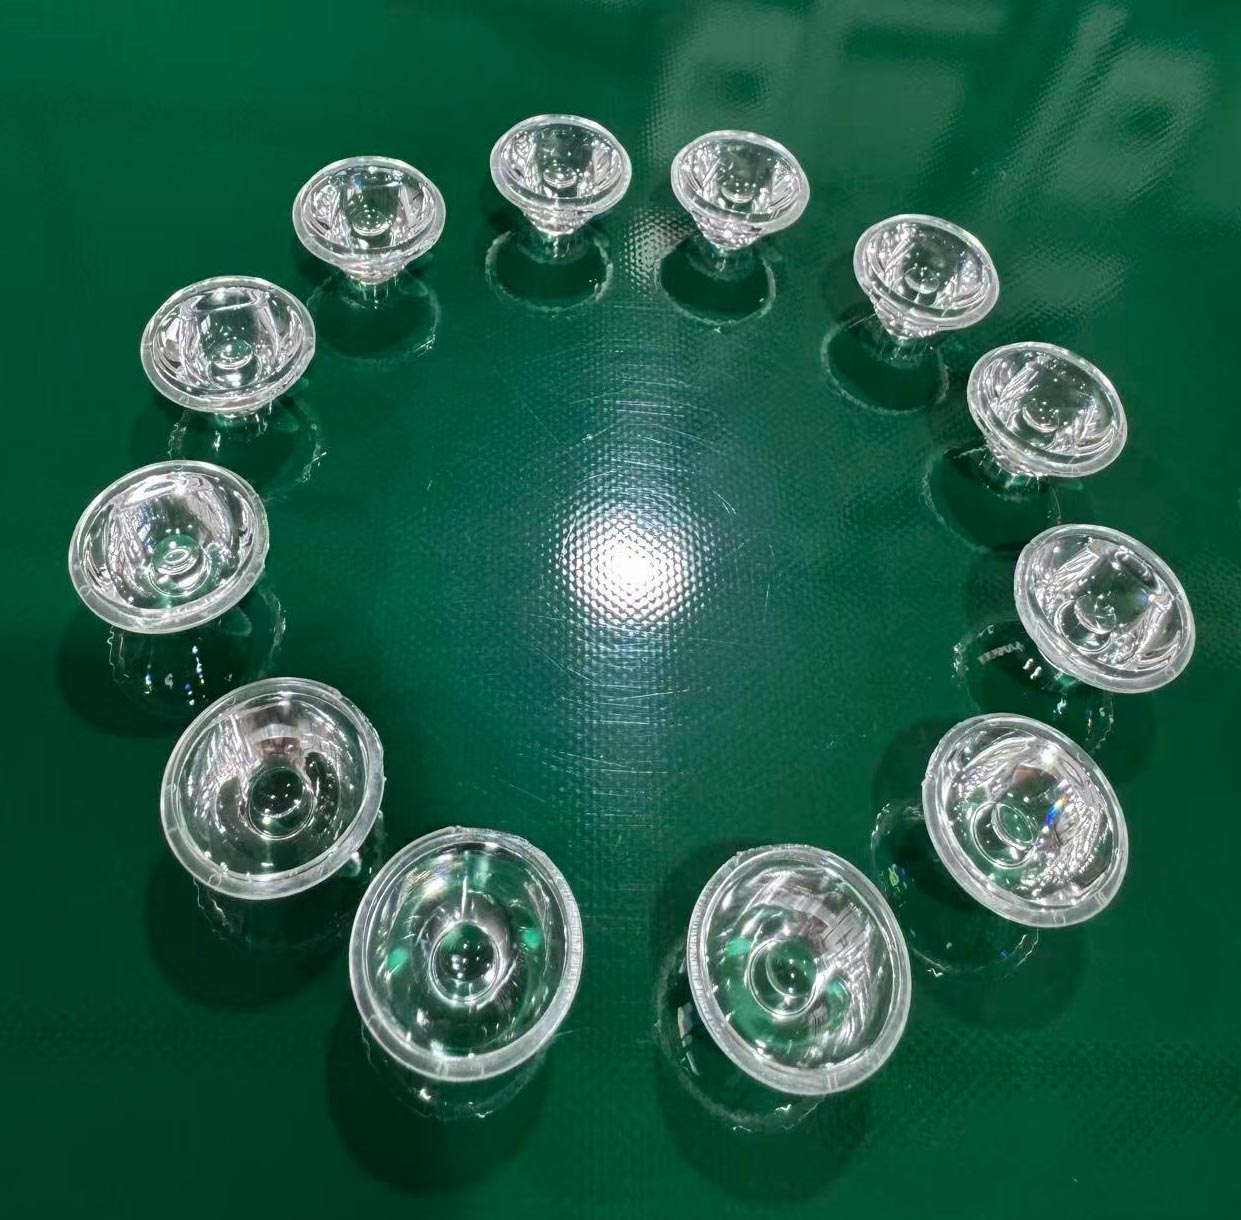
Cost-Saving Tip: Unless your part is an optical lens, a standard B-grade polish or a C-grade matte texture is more than suitable for most products and is a fraction of the cost.
| Design Feature | Cost Impact | Cost-Saving Alternative |
|---|---|---|
| Undercut (Side Hole) | High | Redesign the part to "pass-through" or move the feature to the parting line. |
| Thick Wall Section | Medium | Core out the thick section and add structural ribs to maintain stiffness. |
| Tight Tolerance (+/- 0.01mm) | High | Use a standard molding tolerance (e.g., +/- 0.1mm) on all non-critical features. |
| High-Gloss Polish (SPI-A1) | High | Specify a functional B-grade polish or a C-grade matte texture instead. |
You can significantly reduce mold costs by choosing the right mold material for your volume (H13 vs. P20 Steel), starting with a single-cavity mold, opting for a simpler cold runner system, and minimizing high-end cosmetic finishes.
After you'veoptimized your part design, the next place to save money is in the design of the mold itself. The choices you make here are a direct trade-off between upfront cost and long-term production efficiency.
Not all molds are made of the same steel. The material you choose should match your production volume.
Aluminum: Used for "bridge tooling." It's soft, fast to machine, and cheap. Perfect for 1,000-10,000 parts, but it wears out quickly.
P20 Steel: The industry workhorse. It's a pre-hardened steel that balances machinability with good durability. Ideal for 50,000 to 500,000 cycles.
Hardened H13 Steel: The high-volume champion. It's machined in a soft state, then heat-treated to become extremely hard. It's more expensive to build but can last for 1,000,000+ cycles.
Cost-Saving Tip: Be realistic about your part's life volume. Don't pay for a 1-million-cycle H13 mold if you only plan to produce 50,000 parts. A P20 mold is far more cost-effective.
A multi-cavity mold produces multiple parts per cycle (e.g., 4, 8, or 16 at a time). While this drastically lowers the *part price* (by dividing the machine time), it makes the *upfront mold cost* skyrocket. A 4-cavity mold is not just four times the work; it's significantly more complex to build and balance.
Cost-Saving Tip: For a new product, always start with a single-cavity mold. This minimizes your upfront investment and risk. You can validate your design and test the market. If the product is a hit, you can then invest in a second, multi-cavity mold to scale up production.
The runner system feeds plastic to the part. A cold runner is a simple, unheated channel in the mold. The runner hardens with the part and is ejected as a piece of scrap (which is then reground). A hot runner is a complex, heated manifold that keeps the plastic molten all the way to the part, producing no runner scrap.
Hot runner systems are much more expensive to build and maintain. While they save material and shorten cycle times, a simple cold runner is almost always the cheaper *upfront* choice.
How and where the plastic enters your part matters. A simple, manually trimmed "edge gate" is the cheapest and easiest to build. A more complex "pin-point gate" or "sub gate" will automatically shear off, eliminating a manual trimming step. This makes the mold more expensive but reduces the ongoing labor cost. Discussing your cosmetic and cost goals with your molder will help determine the right gate type for your budget.
| Feature | Low-Cost Option (Good for <10k parts) | High-Cost Option (Good for >1M parts) |
|---|---|---|
| Mold Material | Aluminum 6061 (Bridge Tool) | Hardened H13 Steel |
| Runner System | Cold Runner (Manual Degating) | Hot Runner (No Waste) |
| Cavities | Single Cavity (Low Upfront Cost) | Multi-Cavity (Low Part Cost) |
The easiest way to lower your recurring part cost is to select a common, low-cost "commodity" resin like Polypropylene (PP) or ABS. Avoid expensive "engineering" resins like PEEK or PEI unless their high performance is an absolute functional requirement for your product.
This is where you save money on every single part you make. After you've paid for the mold, your part price is dominated by material cost and machine time. Here’s how to optimize it.
Don't over-engineer your material. If your part is a simple indoor enclosure that won't see high stress or temperatures, it doesn't need a fancy, expensive resin. Commodity resins are inexpensive, widely available, and easy to mold.
Polypropylene (PP): Great for living hinges, caps, and tough, low-cost parts.
ABS: A fantastic all-rounder for electronic housings and cosmetic parts.
Choosing a standard material like PP over an engineering-grade PC can cut your material cost by 50% or more.
High-performance resins like PEEK, PEI (Ultem), and even standard Polycarbonate are "overkill" for many applications. These materials are significantly more expensive and often require special handling (like high-temperature drying) and hotter molds, which increases your cycle time and energy costs. Always start with the cheapest material that meets your *minimum viable specifications*.
Adding fillers can be a double-edged sword. While glass fibers increase strength, they also make the resin more abrasive, which can cause premature wear on the mold. Flame retardant (FR) and UV-stabilizing additives also increase the base resin cost. Be sure these properties are requirements, not "nice-to-haves."
For non-cosmetic, internal parts where color and perfect appearance aren't critical, ask your molder about using "regrind." This is the plastic from the cold runners of previous shots that has been ground up and can be mixed back in with new "virgin" resin. This reduces waste and can lead to small but consistent material savings.
| Material Tier | Examples | Relative Cost | Key Characteristics |
|---|---|---|---|
| Commodity | PP, PE, PS | $ | Very low cost, flexible, good chemical resistance. |
| Standard Engineering | ABS, PC, Nylon (PA66) | $$ | Good balance of strength, stiffness, and cost. |
| High-Performance | PEEK, PEI, PPS | $$$$$ | Extreme heat/chemical resistance, very expensive. |
Absolutely. For low volumes, CNC machining and 3D printing are significantly cheaper and faster because they have zero tooling costs. These processes are essential for validating your design *before* you commit to an expensive mold, and are often the best choice for your first 1-1,000 parts.
Sometimes, the best way to reduce injection molding costs is to not use it at all—at least, not yet. This is where a multi-service partner like GoodTech becomes invaluable.
The most expensive mistake you can make is to spend $20,000 on a mold, only to discover your design has a fatal flaw. The solution is to de-risk your project by validating your design with low-cost prototypes. This is the single smartest financial decision you can make in product development.
Need a part in your hands by tomorrow to test its form and fit? 3D printing is the answer. It's the fastest and cheapest way to create initial physical models. While the material properties may not be identical to a final molded part, it's perfect for:
Early-stage design validation.
Checking ergonomics and aesthetics.
Verifying assembly and fit with other components.
What if you need higher-fidelity prototypes or your first low-volume production run? CNC machining is the perfect solution. We machine your parts from a solid block of the *actual* production plastic you intend to mold with (like ABS, PC, or Nylon).
This gives you the best of both worlds:
No Tooling Cost: You go straight to production.
Real Material Properties: You can conduct true functional and strength tests.
Speed to Market: You can have 500 production-quality parts in 1-2 weeks, not 3 months.
This is how you manage cost intelligently. You start with GoodTech's rapid prototyping services to iterate and perfect your design for a few hundred dollars. Then, you can use our CNC machining service for your first low-volume run to test the market. Once your product is validated and the orders are coming in, you can invest in injection molding tooling with zero risk, knowing the design is proven and will be successful. This step-by-step pathway is the most financially responsible way to launch a new product.
The upfront tooling cost is by far the biggest cost factor. The complexity of your part design (especially undercuts requiring slides/lifters) and the size of the part are the primary drivers of this cost.
There is no "typical" cost, as it's 100% dependent on part complexity. A very simple, small mold might cost $3,000 - $5,000. A moderately complex mold for a handheld electronic enclosure might be $25,000 - $50,000. A large, highly complex mold for an automotive part can easily exceed $100,000.
Undercuts require slides or lifters, which are moving components inside the mold. These add significant cost because they require complex mechanisms to be designed, machined, and precisely fitted, and they often necessitate a larger, more expensive mold base to house them.
A cold runner mold is significantly cheaper to build (lower upfront cost). A hot runner mold is more expensive to build but saves you money on every part by eliminating material waste and often reducing cycle time (lower ongoing part cost).
It depends on the polish level. A light bead blast (SPI-D1) or a simple stone polish (SPI-C1) is generally the cheapest and fastest finish. A high-gloss, semi-polished finish (SPI-B1) takes more time and costs more. A mirror-like diamond polish (SPI-A1) is by far the most expensive.
You can estimate it with this formula: Break-Even Point (Units) = (Total Tooling Cost) / (Cost per Part [CNC] - Cost per Part [Molded]). This tells you how many parts you need to make before the molding investment pays for itself.
A good rule of thumb is 1000 to 3000 units.
The most common mistake is "over-engineering" the part. This includes adding unnecessarily tight tolerances, unnecessarily thick walls, and complex undercuts that aren't critical to function. These "small" design choices can double or triple the cost of a mold.
Reducing injection molding costs is a holistic process that starts long before a machine is turned on. It begins with smart part design (DFM). By simplifying your design, choosing the right material, and selecting the appropriate tooling for your volume, you can dramatically cut costs and accelerate your time to market. The "disadvantages" of high cost and long lead times are not roadblocks; they are calculated business investments that can be managed with the right strategy.
The key is not just choosing a process, but choosing a partner who can guide you from the prototype stage all the way to mass production. At GoodTech Manufacturing, we specialize in helping you validate your design with rapid prototyping and CNC machining, ensuring you are 100% confident *before* you invest in high-volume tooling. Ready to find the most cost-effective path for your project? Upload your CAD file today for a free, comprehensive quote and DFM analysis from our expert engineers.


